
Note: This article has done its job, and will be retiring soon. To prevent "Page not found" woes, we're removing links we know about. If you've created links to this page, please remove them, and together we'll keep the web connected.
The integrity, confidentiality, and privacy of your organization’s mission-critical information rests on how secure you make your site – specifically, who you choose to grant access to your site.
The process of granting and restricting access to your SharePoint sites and content is called managing permissions.
You manage permissions by using SharePoint groups, which control membership, or by using fine-grained permissions, which help you control content at the item or document level. This article focuses on using SharePoint groups to control access to a site.
In this article
1. Make sure you have the correct permissions.
To manage permissions for a site, you must have the Manage Permissions level for the site or content.
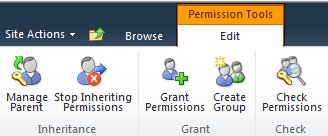
To make sure you can manage permissions for a site, click the Site Actions menu and ensure that you can see the Site Permissions link, which looks like this:

If you cannot see the Site Permissions link, you’ll need to follow your organization’s process for requesting permissions.
2. Review the existing permissions settings for your site.
To open a site’s permission page:
-
Click Site Permissions on the Site Actions menu.
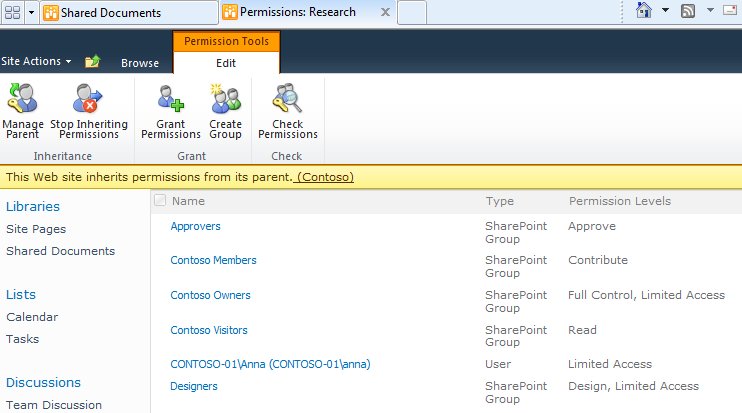
Here’s an example of the permissions page for a new team site, Contoso11/Research, which inherits permissions from a site called Contoso11:
-
The Name column lists SharePoint groups with permissions to the site.
-
The Permission Levels column lists the permission levels granted to each group. For example, the Contoso Owners group has Full Control and Limited access permission levels.
Next, see the members of any group by clicking the group name in the Name column:
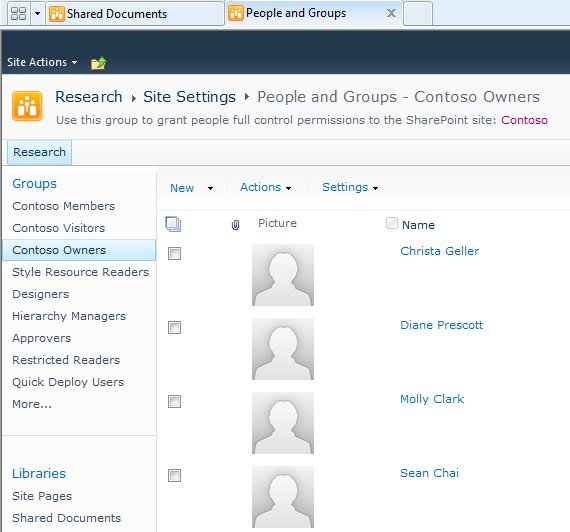
(A) Christa Geller and (B) Diane Prescott are members of the Contoso11 Owners group.
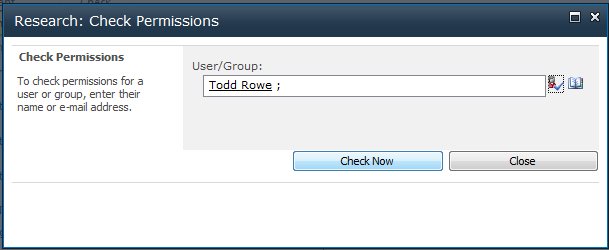
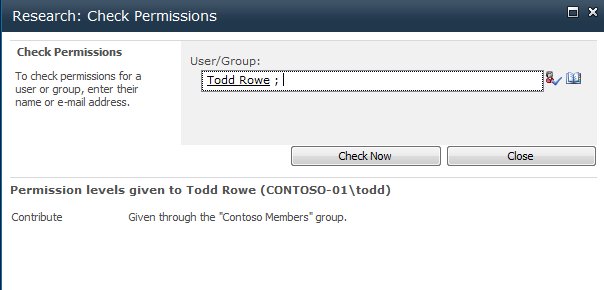
Note: You can check the permission levels for anyone in your organization. Click Check Permissions on the permissions page for the site and then type the name of the person you want to check in the User\Group box.
For more information about how permission levels work with SharePoint groups, see Understanding permission levels in SharePoint.
3.Add groups with the right people in them.
You can work with groups to ensure that the right people have access to your site:
-
Add groups to or remove them from your site.
-
Add or remove members from the groups.
To add groups (or users) to your site:
-
Click Site Permissions on the Site Actions menu to open the site permissions page.
-
Click the Grant Permissions button.
-
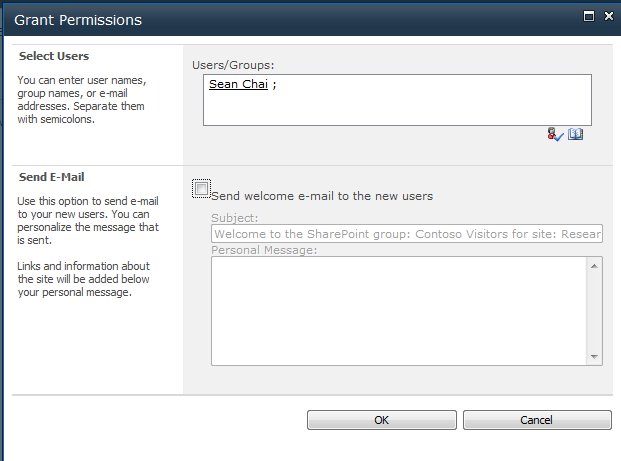
In the Grant Permissions dialog box, type the names of the groups (or users) to whom you want to grant access to your site. If you type the names of users, it’s a good idea to add them to an existing group in the second section of the dialog box, Grant Permissions. (You can grant permissions to individual users directly, but the cost of maintaining a system like that adds up quickly.)
-
Click OK.
To change the permissions assigned to a user or group:
-
Click Site Permissions on the Site Actions menu to open the site permissions page.
-
Click the name of the user or group, and then click the command on the ribbon that you want to use.
Here are a couple examples using the hypothetical site Contoso, which includes a Visitors group and an Approvers group.
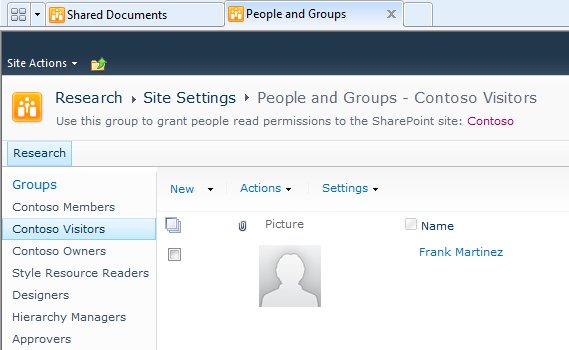
To add a new member to the Contoso Visitors group, in the following example, first you would open the site permissions page.
Next, click the Contoso Visitors link under Name to display the members of the group:
On the New menu, click Add Users, and then type the name of the person you want to add, in this case, Sean Chai, and then click OK:
Now Sean is a member of the visitors group.
To remove the Approvers group for the Research site, you would click Approvers and then click Remove User Permissions:
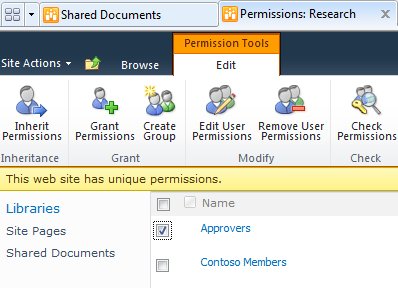
You can use the commands on the ribbon to restore inheritance from the parent site, or to grant, modify, check, or manage permissions for the site.
4. Customize permissions settings to suit your needs.
You are not limited the default SharePoint groups or permission levels, although we recommend that you use them when you can, because they are designed to work together and to give you the advantage of changing permissions for all users or sites at once.
If the default settings that are inherited from the parent site for your site don’t meet your needs, you can:


